MEASURE TWICE. PRESS ONCE.
DTF Transfer Size Guide
The right print size by placement, for adult and youth garments, and how to check it before you build a sheet.
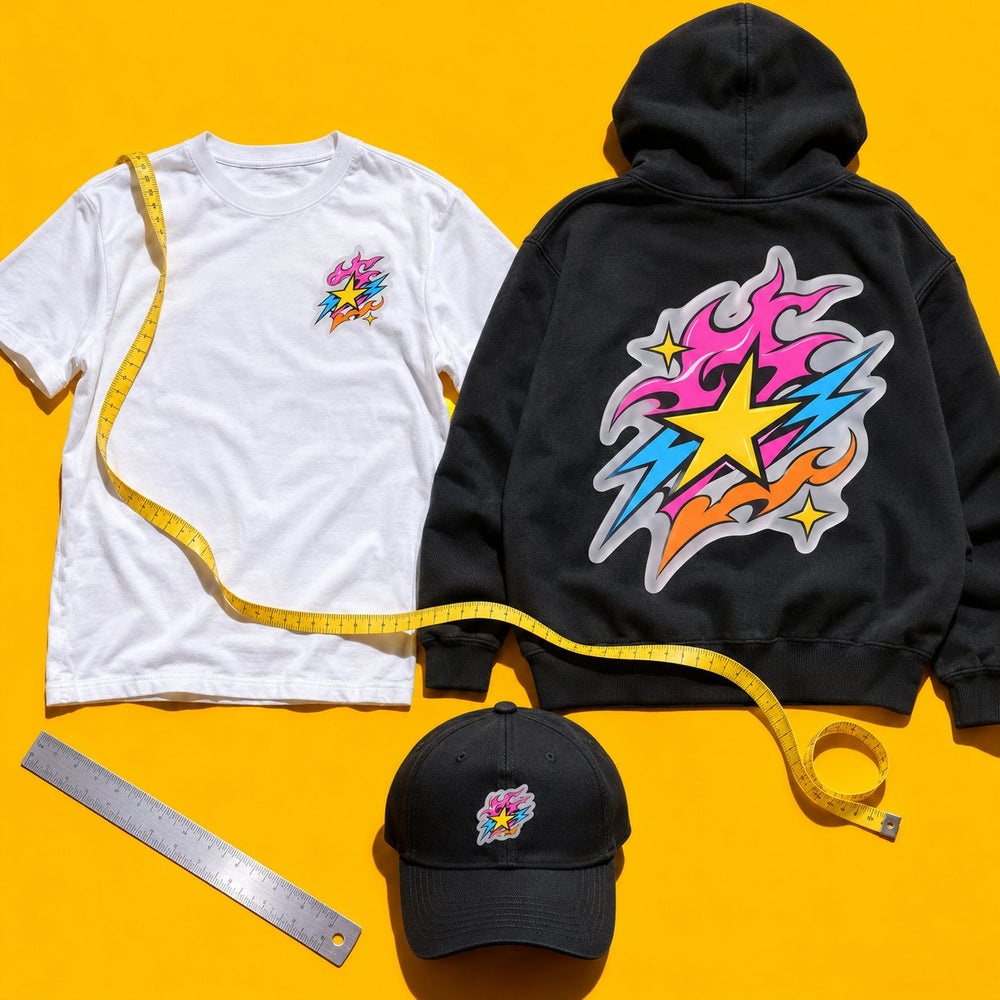
How to pick a size that looks right
Most sizing mistakes come from guessing. Before you build a gang sheet, lay the garment flat and measure the area you're printing on. Then size the design to fit that space, not the other way around.
See it before you order. Try your design on a tee or hoodie at real print size with the free mockup and size preview, then run it through the print-ready checker to confirm it's sharp at that size.
- Measure the print area, not the shirt. For a full front, measure across the chest between the side seams, then leave a few inches of breathing room on each side.
- Width is usually the number that matters. Tall, narrow designs are the exception. For those, check height so the print doesn't run into the waistband or hood.
- Mock it up. Print the design on paper at its actual size and hold it against the garment. It takes a minute and saves a reprint.
- Youth sizes need their own art size. An adult full front on a youth shirt wraps into the side seams. Size it down instead of stretching one size across the whole run.
- Check the file too. A file that's too small for the print size prints soft. See the artwork requirements.
Mixed sizes on one sheet
A run rarely needs just one size. Put the left chest, full front and sleeve versions of the same logo on one gang sheet, along with youth sizes. Gang sheets are priced by sheet size, so packing every size you need onto one sheet is usually the cheapest way to order. Placement tips for specific garments: t-shirts, hoodies.
Small text and fine lines
The smaller the print, the more detail it loses. At left-chest and hat sizes, thin lines and small text are the first to break up. Thicken fine strokes and avoid text smaller than about a quarter inch tall at final size.
STARTING POINTS, NOT RULES
COMMON PRINT SIZES.
Typical widths by placement. Garments vary, so measure the actual shirt and mock it up before you build the sheet.
| Placement | Adult | Youth | Notes |
|---|---|---|---|
| Left chest | 3.5–4 in wide | 3 in wide | Logos and small marks |
| Full front | 10–12 in wide | 8–9 in wide | Main graphics |
| Full back | 11–12 in wide | 9–10 in wide | Large back prints |
| Sleeve | 2.5–3.5 in wide | 2–2.5 in wide | Short-sleeve hits |
| Hoodie front | 9–11 in wide | 7–9 in wide | Keep it above the pouch pocket |
| Hat front | 2–2.5 in tall | — | Test on the cap's curve first |
| Tote bag | 9–11 in wide | — | Stay inside the seams |
Same logo at more than one size? Put every size on one gang sheet. Priced by sheet size. You pay for the sheet, and how many designs you fit on it is up to you.
GOOD QUESTIONS
BEFORE
YOU ORDER.
Can I put the same design at different sizes on one sheet?
Yes. Put the chest, sleeve and full front versions of a logo on the same gang sheet.
Should I measure the shirt or trust the chart?
Measure the shirt. The chart gives starting points; garment cuts and sizes vary, so mock up the placement before you build the sheet.
KEEP GOING
